Loading...
AmericanBreadGluten-Free
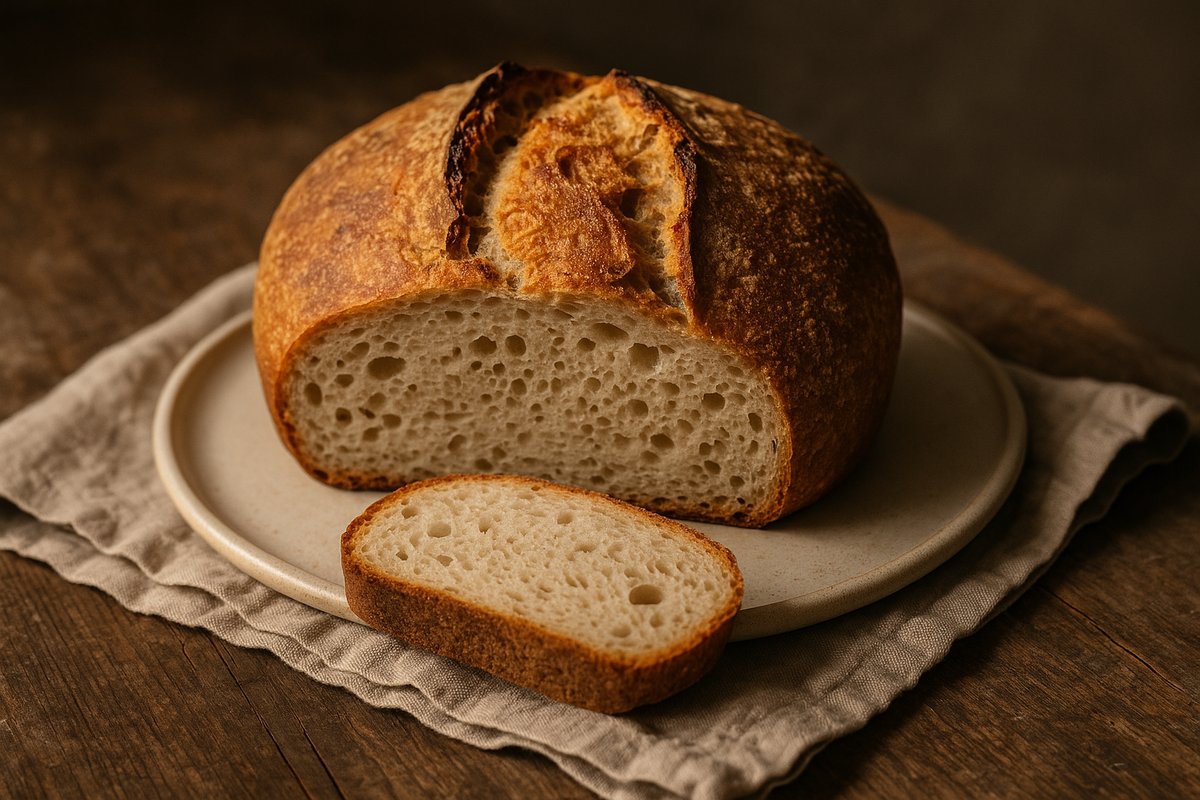
4-Ingredient Gluten-Free Sourdough Bread
Crispy crust meets tender crumb in this surprisingly simple gluten-free sourdough that relies on long fermentation for deep flavor and structure. Just four ingredients and a bit of patience transform your starter into bakery-quality bread with genuine tang and complexity. Perfect for proving that gluten-free baking doesn't mean sacrificing taste or texture.
Ingredients
Units
Instructions
- 1
Day 1 (Around 12 pm) - Make the dough: Add the unfed starter, gluten-free flour, water, and salt to the bowl of a stand mixer. Use the dough hook to mix until all ingredients are combined, the dough comes together, and there isn't any loose flour left.
- 2
Bulk Fermentation: Gently form the dough into a ball and place in a lightly oiled and floured medium glass bowl. Loosely cover and leave in a draft-free place for 6-10 hours (6 hours if your house is warm, up to 10 hours if cooler). The dough should not double in size at this point.
- 3
2nd Proof/Retard (around 8 pm): After the first rise, transfer the bowl to the refrigerator to finish proofing for 12 hours. You can keep the dough in the same bowl or gently reshape it and place it in a floured banneton basket.
- 4
Day 2 (Around 8 am) - Place your Dutch oven on the center rack and preheat the oven to 500°F. Let the Dutch oven preheat at 500°F for at least 30 minutes.
- 5
When the Dutch oven has preheated, remove the dough from the refrigerator. Turn the dough out onto a piece of lightly floured parchment paper.
- 6
With generously floured hands, gently reshape into a tighter ball and use the flour to smooth the dough. The dough should be completely coated with a layer of flour. (Skip this step if you proofed in a banneton basket.)
- 7
Use a sharp knife or bread lame to slash the bread at least 1-inch deep. You can make it decorative or keep it simple with an X in the middle.
- 8
Remove the Dutch oven from the preheated oven. Use the corners of the parchment paper to lift the dough and carefully place it in the Dutch oven. Place 2 large ice cubes between the parchment paper and sides of the Dutch oven and quickly cover with the lid.
- 9
Place the Dutch oven back on the center rack and lower the temperature to 450°F. Bake covered for 40 minutes.
- 10
After 40 minutes, lower the oven temperature to 425°F and remove the lid from the Dutch oven. Bake uncovered for an additional 40 minutes.
- 11
The bread is done when it has an internal temperature of at least 210°F and the bottom sounds hollow when tapped. Cool completely on a wire rack before slicing and serving.
Reviews
Loading reviews…